Having a powerful theme system is one of the key factors in the success of a static website generator. Publish uses Plot as the development tool for themes, allowing developers to enjoy the benefits of Swift’s type safety while efficiently writing themes. This article will start with an introduction to Plot, and ultimately teach readers how to create a Publish theme.
Plot
Introduction
To develop a Theme for Publish, we cannot ignore Plot.
In the Swift community, there are many excellent projects dedicated to generating HTML using Swift, such as Leaf from Vapor and swift-html from Point-Free, Plot is also one of them. Plot was originally written by John Sundell and is part of the Publish suite. Its main focus is on generating static website HTML using Swift and creating other format documents required for building a website, including RSS, podcast, and Sitemap. It is tightly integrated with Publish but also exists as an independent project.
Plot uses a technique called Phantom Types, which uses types as “tags” for the compiler, allowing type safety to be enforced through generic constraints. Plot uses a very lightweight API design that minimizes external parameter labels to reduce the amount of syntax required to render documents, resulting in a code representation with a “DSL-like” appearance.
Usage
Basics
- Node
It is the core component that represents all elements and attributes in any Plot document. It can represent elements and attributes, as well as text content and node groups. Each node is bound to a Context type that determines which DSL API it can access (for example, HTML.BodyContext is used to place nodes in the <body> section of an HTML page).
- Element
Represents an element that can be opened and closed with two separate tags (e.g. <body></body>) or self-closed (e.g. <img/>). When using Plot, you typically don’t need to interact with this type, as instances of it are created in the basic Node.
- Attribute
Represents an attribute attached to an element, such as the href of an <a> element or the src of an <img> element. You can construct an Attribute value using its initializer or use the .attribute() command with the DSL.
- Document and DocumentFormat
A document in a given format, such as HTML, RSS, and PodcastFeed. These are the highest-level types that you can use Plot’s DSL to start a document-building session.
DSL-like syntax
import Plot

let html = HTML(
    .head(
        .title("My website"),
        .stylesheet("styles.css")
    ),
    .body(
        .div(
            .h1("My website"),
            .p("Writing HTML in Swift is pretty great!")
        )
    )
)
The Swift code above will generate the HTML code below. The code format is very similar to DSL and has very little code pollution.
<!DOCTYPE html>
<html>
    <head>
        <title>My website</title>
        <meta name="twitter:title" content="My website"/>
        <meta name="og:title" content="My website"/>
        <link rel="stylesheet" href="styles.css" type="text/css"/>
    </head>
    <body>
        <div>
            <h1>My website</h1>
            <p>Writing HTML in Swift is pretty great!</p>
        </div>
    </body>
</html>
Sometimes, it feels like Plot just maps each function directly to an equivalent HTML element - at least that’s what it looks like from the code above, but actually Plot automatically inserts a lot of very valuable metadata, and we will see more of Plot’s features later.
Attributes
The application of attributes can also be exactly the same as adding child elements, just add another entry in the comma-separated list of an element. For example, here’s how to define an anchor element with both a CSS class and a URL. Attributes, elements, and inline text are all defined in the same way, which not only makes Plot’s API easier to learn, but also makes the input experience very smooth - because you can simply type . to continuously define new attributes and elements in any context.
let html = HTML(
    .body(
        .a(.class("link"), .href("https://github.com"), "GitHub")
    )
)
Type Safety
Plot extensively uses Swift’s advanced generic capabilities, which not only makes it possible to write HTML and XML using native code, but also achieves complete type safety in the process. All elements and attributes in Plot are implemented as context-bound nodes, which enforces valid HTML semantics and enables Xcode and other IDEs to provide rich autocomplete information when writing code using Plot’s DSL.
let html = HTML(.body(
    .p(.href("https://github.com"))
))
For example, <herf> cannot be directly placed in <p>, and auto-completion will not suggest it when typing .p (because the context does not match), and the code will also result in an error during compilation.
This high level of type safety not only brings a very pleasant development experience, but also greatly increases the chances of creating HTML and XML documents that are semantically correct using Plot - especially compared to writing documents and markup with raw strings.
For someone like me who is extremely lacking in HTML knowledge, I cannot even write the following erroneous code (which cannot pass) in Plot.
let html = HTML(.body)
    .ul(.p("Not allowed"))
))
Custom Components
Similarly, the Node architecture bound to the context not only gives Plot a high degree of type safety, but also allows for the definition of more and higher-level components, which can then be flexibly mixed with the elements defined by Plot itself.
For instance, let’s say we wish to integrate an advertisement component into a website, which is restricted to the <body> context of the HTML document.
extension Node where Context: HTML.BodyContext { // Strict context binding
    static func advertising(_ slogan: String,href:String) -> Self {
        .div(
            .class("advertising"),
            .a(
                .href(href),
                .text(slogan)
            )
        )
    }
}
Now, we can use the advertising just like any built-in element with the same syntax.
let html = HTML(
    .body(
        .div(
            .class("wrapper"),
            .article(
               ....
            ),
            .advertising("肘子的Swift记事本", herf: "https://fatbobman.com")
        )
    ))
Control Flow
Although Plot focuses on static site generation, it comes with several control flow mechanisms that allow you to use its DSL for inline logic. Currently supported control commands include .if( ), .if(_,else:), unwrap(), and forEach().
var books:[Book] = getbooks()
let show:Bool = true
let html = HTML(.body(
    .h2("Books"),
    .if(show,
    .ul(.forEach(books) { book in
        .li(.class("book-title"), .text(book.title))
    })
    ,else:
        .text("Please add a book to the library")
    )
))
Using the above control flow mechanisms, especially in combination with custom components, allows you to build truly flexible themes in a type-safe way, creating the desired documents and HTML pages.
Custom Elements and Attributes
Although Plot aims to cover as many standards related to the document formats it supports, you may still encounter some form of element or attribute that Plot does not yet have. We can easily customize elements and attributes in Plot, which is particularly useful when generating XML.
extension Node where Context == XML.ProductContext {
    static func name(_ name: String) -> Self {
        .element(named: "name", text: name)
    }

    static func isAvailable(_ bool: Bool) -> Self {
        .attribute(named: "available", value: String(bool))
    }
}
Document rendering
let header = Node.header(
    .h1("Title"),
    .span("Description")
)

let string = header.render()
It is also possible to control the indentation of the output.
html.render(indentedBy: .tabs(4))Other Support
Plot also supports generating RSS feeds, podcasting, site maps, etc. The corresponding parts in Publish are also implemented by Plot.
Publish Theme
Before reading the following content, it is best to have read Creating a Blog with Publish - Getting Started.
The sample template mentioned in the article can be downloaded from GIthub.
Custom Theme
In Publish, themes need to follow the HTMLFactory protocol. The following code can define a new theme:
import Foundation
import Plot
import Publish

extension Theme {
    public static var myTheme: Self {
        Theme(
            htmlFactory: MyThemeHTMLFactory<MyWebsite>(),
            resourcePaths: ["Resources/MyTheme/styles.css"]
        )
    }
}

private struct MyThemeHTMLFactory<Site: Website>: HTMLFactory {
        // ... Specific pages, six methods need to be implemented
}

private extension Node where Context == HTML.BodyContext {
        // Definition of Nodes, such as header, footer, etc.
}
Use the following code in the pipeline to specify a theme:
.generateHTML(withTheme:.myTheme ), //Use custom themeThe HTMLFactory protocol requires us to implement all six methods, corresponding to six types of pages:
makeIndexHTML(for index: Index,context: PublishingContext<Site>)
Homepage of the website usually displays recent articles, popular recommendations, etc. The default theme explicitly displays all Item lists.
makeSectionHTML(for section: Section<Site>,context: PublishingContext<Site>)
Displays the page when Section is used as an Item container. Usually, it displays the list of Item that belong to the Section.
makeItemHTML(for item: Item<Site>, context: PublishingContext<Site>)
Displays the page for a single article (Item).
makePageHTML(for page: Page,context: PublishingContext<Site>)
Displays the page for other articles (Page). When the section is not used as a container, its index.md is also rendered as a Page.
makeTagListHTML(for page: TagListPage,context: PublishingContext<Site>)
Displays the page for the Tag list. Usually, it displays all the Tags that appeared in the site’s articles.
makeTagDetailsHTML(for page: TagDetailsPage,context: PublishingContext<Site>)
Displays the list of Items that have the particular Tag.
We can write each method in MyThemeHTMLFactory according to the Plot representation described above. For example:
func makePageHTML(for page: Page,
                 context: PublishingContext<Site>) throws -> HTML {
    HTML(
        .lang(context.site.language),
        .head(for: page, on: context.site),
        .body(
            .header(for: context, selectedSection: nil),
            .wrapper(.contentBody(page.body)),
            .footer(for: context.site)
            )
        )
}header, wrapper, and footer are all custom Nodes.
Generation Mechanism
Publish uses a workflow mechanism to operate data in the Pipeline. Refer to the sample code to see how the data is processed in the Pipeline.
try FatbobmanBlog().publish(
    using: [
        .installPlugin(.highlightJS()), // Add syntax highlighting plugin, which is called during markdown parsing
        .copyResources(), // Copy required website resources, files under the Resource directory
        .addMarkdownFiles(),
        /* Read markdown files one by one in Content directory, and parse:
        1: Parse metadata and save it to the corresponding Item
        2: Parse and convert markdown paragraphs in the article to HTML data one by one
        3: When encountering code blocks that highlightJS needs to process, call the plugin
        4: Save all processed content to PublishingContext
        */
        .setSctionTitle(), // Modify the displayed title of the section
        .installPlugin(.setDateFormatter()), // Set time display format for HTML output
        .installPlugin(.countTag()), // Inject to add tagCount property to tag, and calculate how many articles are under each tag
        .installPlugin(.colorfulTags(defaultClass: "tag", variantPrefix: "variant", numberOfVariants: 8)), // Inject to add colorfiedClass property to each tag, and return the corresponding color definition in the css file
        .sortItems(by: \.date, order: .descending), // Sort all articles in descending order
        .generateHTML(withTheme: .fatTheme), // Specify the custom theme and generate HTML files in the Output directory
        /*
        Use the theme template, and call the page generation method one by one.
        According to the different parameters required by each method, pass the corresponding PublishingContext, Item, Section, etc.
        Theme methods render HTML using Plot based on data.
        For example, to display the content of a page article in makePageHTML, it is obtained through page.body
        */
        .generateRSSFeed(
            including: [.posts,.project],
            itemPredicate: nil
        ), // Generate RSS using Plot
        .generateSiteMap(), // Generate Sitemap using Plot
    ]
)
From the above code, we can see that the generation of HTML using the theme template and saving it is at the end of the entire Pipeline. In general, when the theme method is called with the given data, the data is already prepared. However, since Publish’s theme is not a descriptive file but standard program code, we can still process the data again before the final render.
Although Publish currently offers only a few types of pages, we can still achieve completely different rendering results for different content using just these types. For example:
func makeSectionHTML(for section: Section<Site>,
                         context: PublishingContext<Site>) throws -> HTML {
    // If section is "posts", display a completely different page
    if section.id as! Myblog.SectionID == .posts {
            return HTML(
                postSectionList(for section: Section<Site>,
                context: PublishingContext<Site>)
            )
    }
    else {
           return HTML(
                otherSctionList(for section: Section<Site>,
                context: PublishingContext<Site>)
            )
       }
   }
We can also use Plot’s control commands to achieve the same effect. The following code is equivalent to the above:
func makeSectionHTML(for section: Section<Site>,
                         context: PublishingContext<Site>) throws -> HTML {
      HTML(
        .if(section.id as! Myblog.SectionID  == .posts,
              postSectionList(for section: Section<Site>,
                context: PublishingContext<Site>)
            ,
            else:
              otherSctionList(for section: Section<Site>,
                context: PublishingContext<Site>)
           )
        )
    }
Basically, in Publish, you can handle web pages using the mindset of writing regular programs. Themes are not just about describing files.
Collaboration with CSS
The theme code defines the basic layout and logic of the corresponding page, while more specific layout, size, color, effect, etc. are set in the CSS file. The CSS file is specified when defining the theme (there can be multiple).
If you are an experienced CSS user, there should be no difficulty. However, the author is almost completely unfamiliar with CSS, and spent the longest time and energy on it during the process of rebuilding a blog using Publish.
Please recommend a tool or VS Code plugin that can organize CSS for me. Since I have no experience in CSS, my code is messy. Is it possible to automatically adjust tags or classes of the same level or similar together for easy searching?
Practice
Next, we will experience the development process by modifying two theme methods.
Preparation
At the beginning, it is not very realistic to completely rebuild all the theme code, so I recommend starting with the default theme foundation that comes with Publish.
Complete the installation work in Creating a Blog with Publish - Getting Started.
Modify main.swift:
enum SectionID: String, WebsiteSectionID {
        // Add the sections that you want your website to contain here:
        case posts
        case about //add one for demonstrating the navigation bar above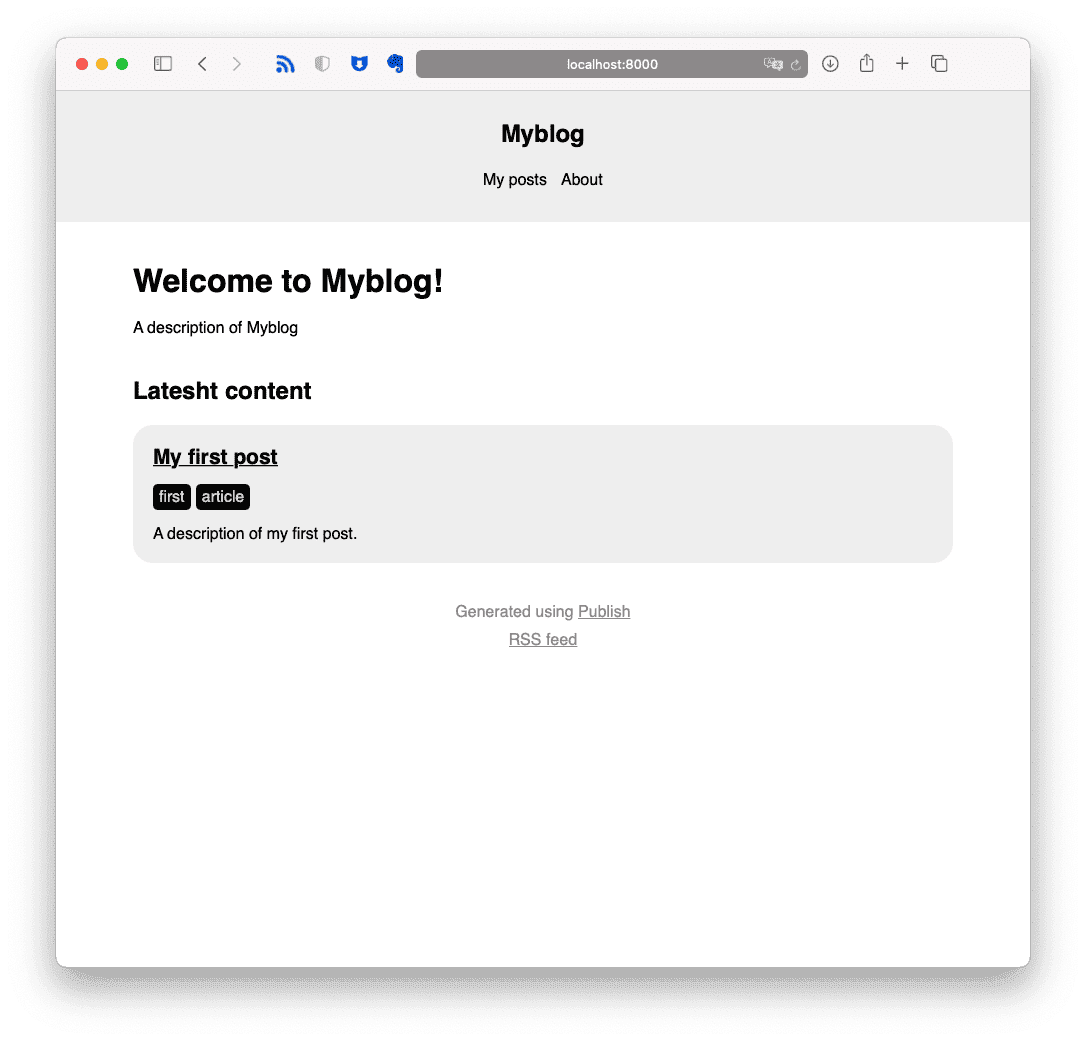
}$publish runAccess http://localhost:8000, the page should look like this:
Create a MyTheme directory in the Resource folder. Copy the two files styles.css and Theme+Foundation.swift from the Publish library to the MyTheme directory in XCode. Alternatively, create new files in the MyTheme directory and paste the code.
Publish--Resources--FoundatioinTheme-- styles.cssPublish--Sources--Publish--API-- Theme+Foundation.swiftRenamed Theme+Foundation.swift to MyTheme.swift, and edited its contents as follows:
From:
private struct FoundationHTMLFactory<Site: Website>: HTMLFactory {To:
private struct MyThemeHTMLFactory<Site: Website>: HTMLFactory {From:
 static var foundation: Self {
        Theme(
            htmlFactory: FoundationHTMLFactory(),
            resourcePaths: ["Resources/FoundationTheme/styles.css"]
        )
 }
To:
static var myTheme: Self {
        Theme(
            htmlFactory: MyThemeHTMLFactory(),
            resourcePaths: ["Resources/MyTheme/styles.css"]
        )
}
In main.swift, from:
try Myblog().publish(withTheme: .foundation)To:
try Myblog().publish(withTheme: .myTheme)Just create a few .md files under the posts directory in Content. For example:
---
date: 2021-01-30 19:58
description: 第二篇
tags: second, article
title: My second post
---
hello world
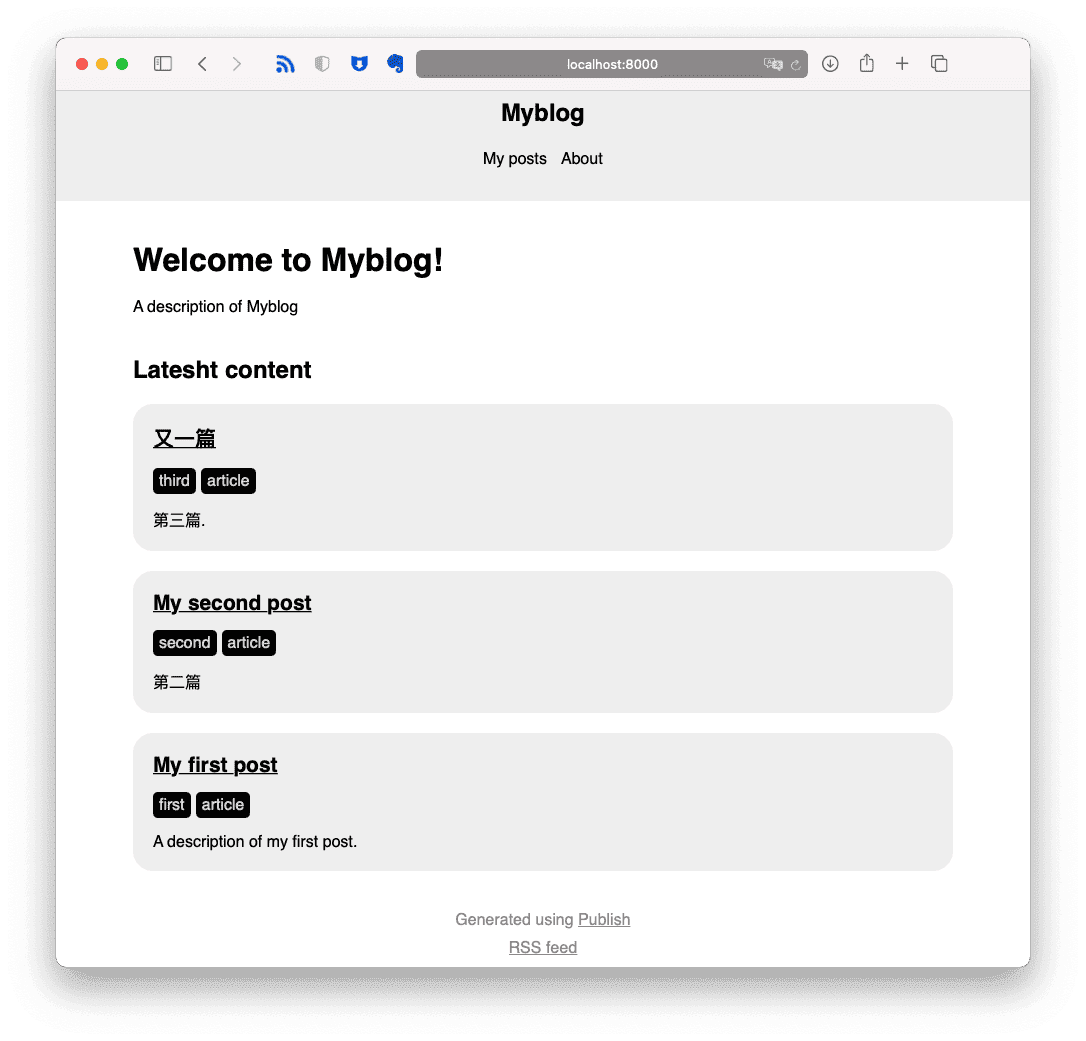
...Preparations are complete. The page looks something like this. The makeIndexHTML method creates the current display page.
Example 1: Changing the display of Item Row in makeIndexHTML
The current code for makeIndexHTML is as follows:
func makeIndexHTML(for index: Index,
                       context: PublishingContext<Site>) throws -> HTML {
        HTML(
            .lang(context.site.language),  //<html lang="en"> language can be modified in main.swift
            .head(for: index, on: context.site), //<head> content, including title and meta
            .body(
                .header(for: context, selectedSection: nil), // Site.name and nav navigation SectionID at the top
                .wrapper(
                    .h1(.text(index.title)), // Welcome to MyBlog! corresponds to the title in Content--index.md
                    .p(
                        .class("description"),  // corresponds to .description in styels.css
                        .text(context.site.description) // corresponds to Site.description in main.swift
                    ),
                    .h2("Latest content"),
                    .itemList(  // custom Node that displays the Item list, currently used in makeIndex, makeSection, and makeTagList
                        for: context.allItems(
                            sortedBy: \.date, // sorted in descending order by metadata date of creation
                            order: .descending
                        ),
                        on: context.site
                    )
                ),
                .footer(for: context.site) // custom Node that displays the copyright information at the bottom
            )
        )
    }
Make the following modifications to makeIndexHTML:
.itemList(To:
.indexItemList(Afterward, add .h2("Latest content") to the code, which becomes:
       .h2("Latesht content"),
       .unwrap(context.sections.first{ $0.id as! Myblog.SectionID == .posts}){ posts in
              .a(
                  .href(posts.path),
                  .text("显示全部文章")
                 )
              },
Adding in extension Node where Context == HTML.BodyContext:
    static func indexItemList<T: Website>(for items: [Item<T>], on site: T) -> Node {
        let limit:Int = 2 //Set the maximum number of Item entries to display on the index page
        let items = items[0...min((limit - 1),items.count)]
        return .ul(
            .class("item-list"),
            .forEach(items) { item in
                .li(.article(
                    .h1(.a(
                        .href(item.path),
                        .text(item.title)
                    )),
                    .tagList(for: item, on: site),
                    .p(.text(item.description)),
                    .p(item.content.body.node) //Add the full content of the item to be displayed
                ))
            }
        )
    }
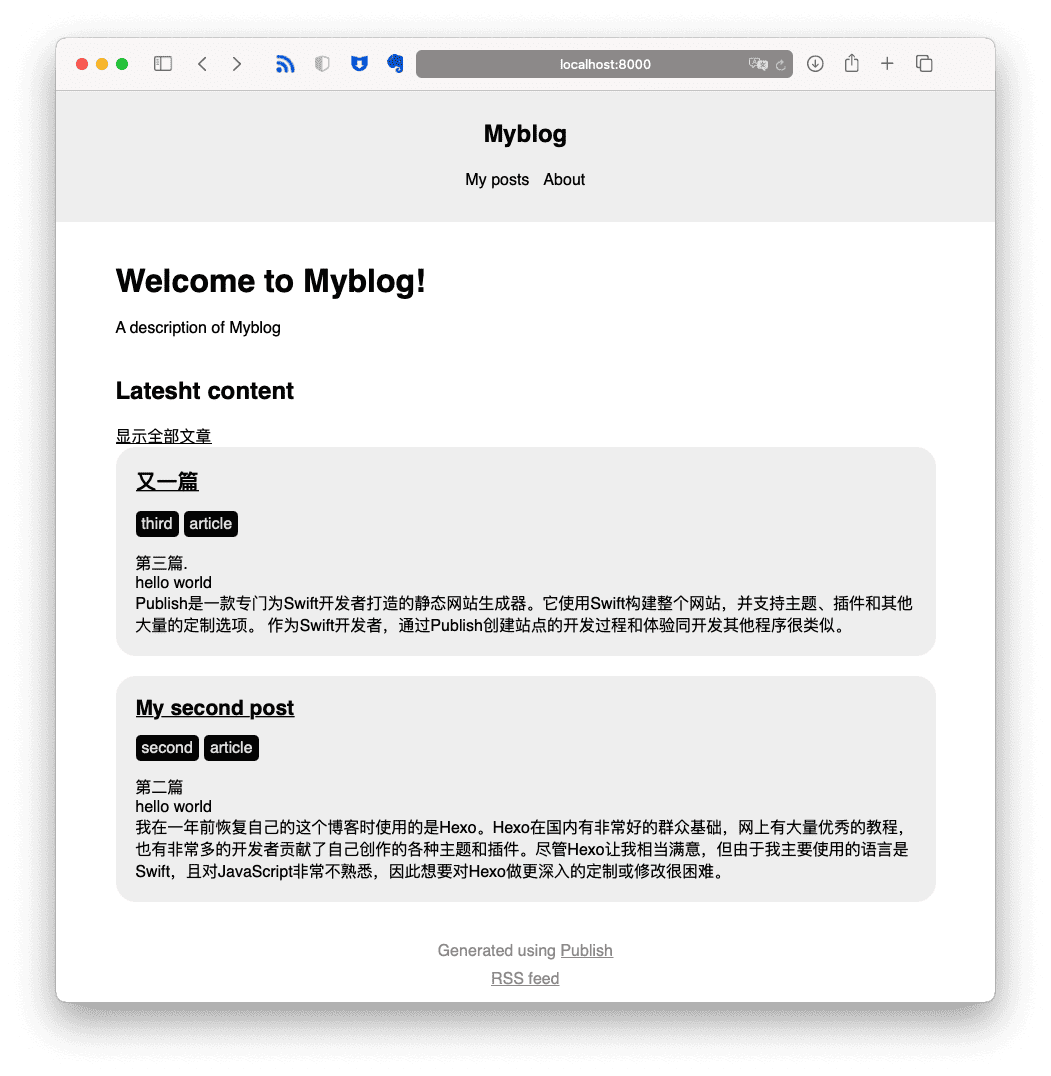
Now the Index page looks like this:
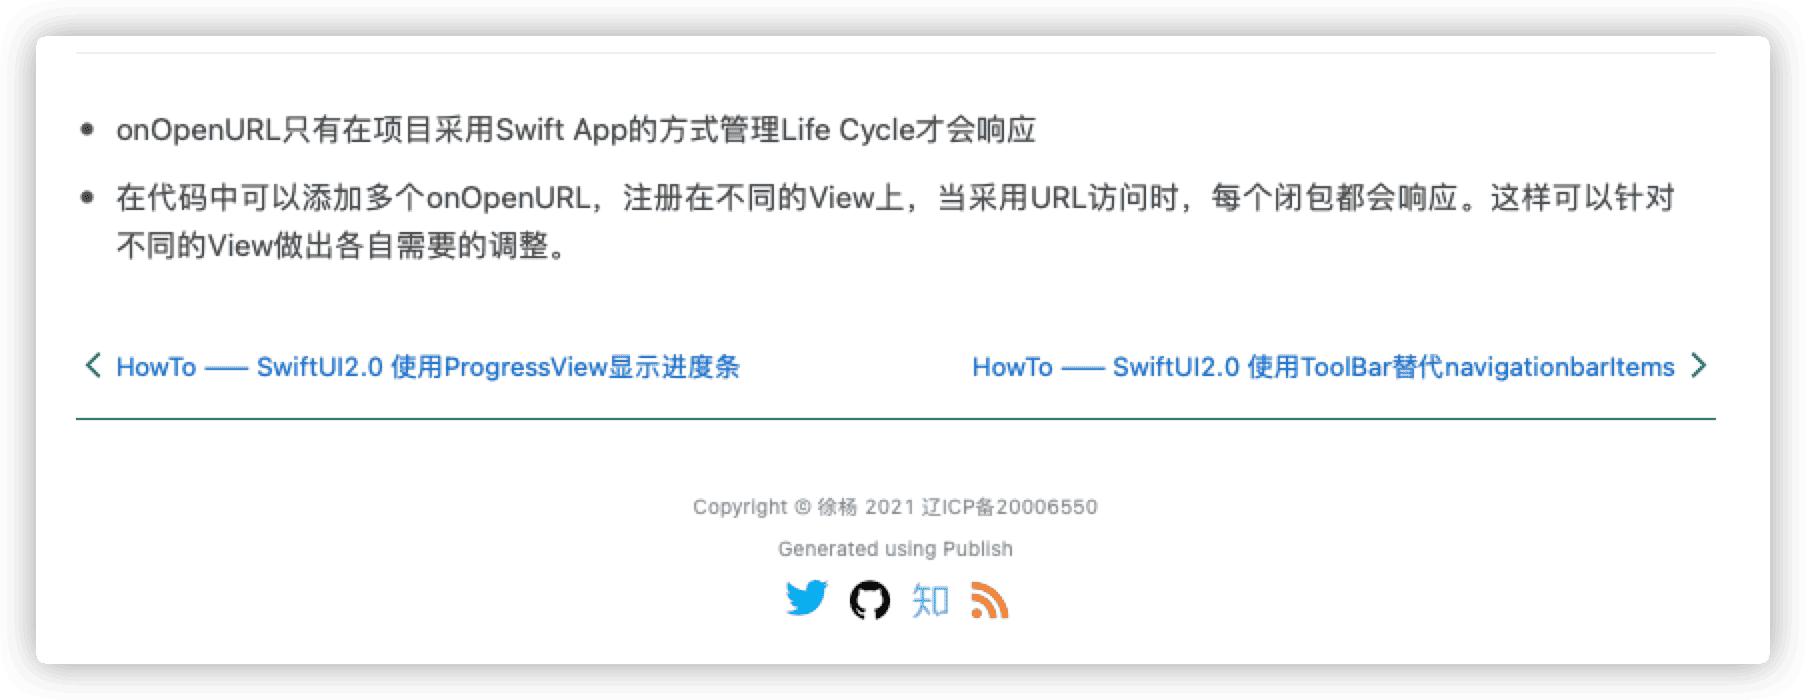
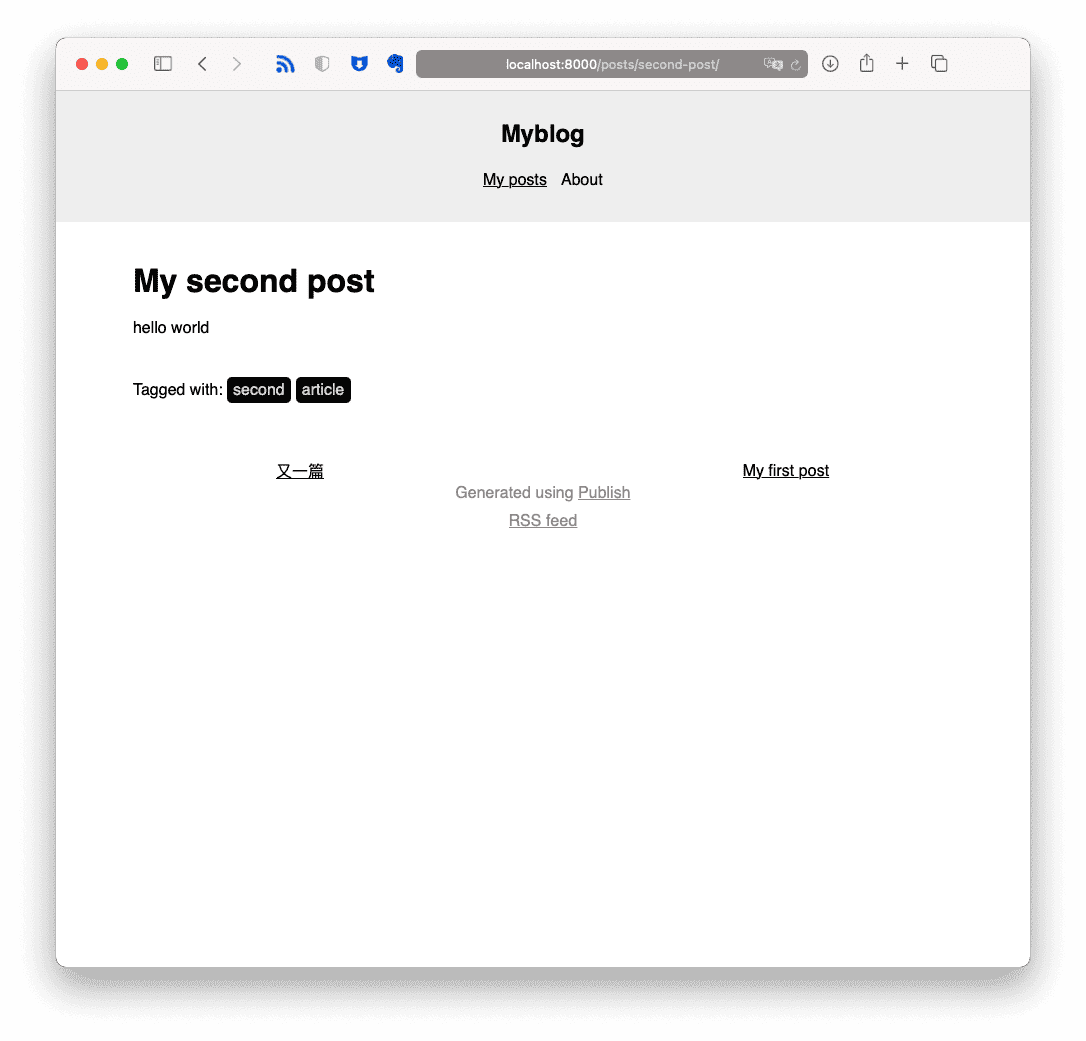
Example 2: Adding navigation for recently articles to makeItemHTML
In this example, we will add article navigation functionality to makeItemHTML, similar to the following effect:
Click to enter any item (article)
     func makeItemHTML (for item: Item <Site>,
                      context: PublishingContext <Site>)throws-> HTML {
         HTML(
             .lang(context.site.language),
             .head(for: item,on: context.site),
             .body(
                 .class(“item-page”),
                 .header(for: context,selectedSection: item.sectionID),
                 .wrapper(
                     .article( //<article> tag
                         .div(
                             .class(“content”), //css .content
                             .contentBody(item.body) //.raw(body.html) display item.body.html article text
                         ),
                         .span(“Tagged with:”),
                         .tagList(for: item,on: context.site) //tag list below, forEach(item.tags)
                     )
                 ),
                 .footer(for: context.site)
             )
         )
     }
Add the following content before the HTML ( in the code:
         var previous:Item <Site>?= nil //previous item
         var next:Item <Site>?= nil //next item

         let items = context.allItems (sortedBy: \.date,order:.descending) //get all items
         /*
         We are currently getting all items, and the scope can be limited when getting, for example:
         let items = context.allItems(sortedBy: \.date,order: .descending)
                           .filter{$0.tags.contains(Tag("article"))}
         */
         //index of current item
         guard let index = items.firstIndex (where: {$0 == item})else {
             return HTML()
         }

         if index> 0 {
             previous = items [index-1]
         }

         if index <(items.count-1) {
             next = items [index + 1]
         }

         return HTML (
           ....
Add before .footer
.itemNavigator(previousItem:previous,nextItem:next),
.footer(for: context.site)
Add a custom node itemNavigator in extension Node where Context == HTML.BodyContext.
   static func itemNavigator<Site: Website>(previousItem: Item<Site>?, nextItem: Item<Site>?) -> Node{
        return
            .div(
                .class("item-navigator"),
                .table(
                    .tr(
                        .td(
                            .unwrap(previousItem){ item in
                                .a(
                                    .href(item.path),
                                    .text(item.title)
                                )
                            }
                        ),
                        .td(
                            .unwrap(nextItem){ item in
                                .a(
                                    .href(item.path),
                                    .text(item.title)
                                )
                            }
                        )
                    )
                )
            )
    }
Add in styles.css
.item-navigator table{
    width:100%;
}

.item-navigator td{
    width:50%;
}
The above code is for demonstration purposes only. The result is as follows:
Summary
If you have experience with SwiftUI development, you will find that the usage is very similar. In the Publish theme, you have ample means to organize, process data, and layout views (treating Node as View).
The FoundationHTMLFactory of Publish currently only defines six page types. There are two ways to add new types:
- Fork Publish and directly extend its code.
This method is the most thorough, but it is more difficult to maintain.
- After executing
.generateHTMLin the pipeline, execute a custom generate step.
There is no need to modify the core code. There may be redundant actions, and we need to do some processing in the built-in methods of FoundationHTMLFactory to connect with our newly defined pages. For example, currently index and section list do not support pagination (only outputting one HTML file), we can regenerate a set of paginated index after the built-in makeIndex, and overwrite the original.
In this article, we introduced how to use Plot and customize your own theme in Publish. In the next article, we will explore how to add various functions without modifying the core code of Publish (not just plugins).